Repairing a Banjo Peghead
A Pictorial Review
by
Ken & Trisha Brooks
This Baystate banjo (1865-1897), sold by John C. Haynes & Co., Boston; came into our store for repair of a broken peghead.
We thought you might like to see how the repair was done.
Click any picture for a larger view

The break! |

The banjo needed
|
A bunch of shims fell
|
The fingerboard
|
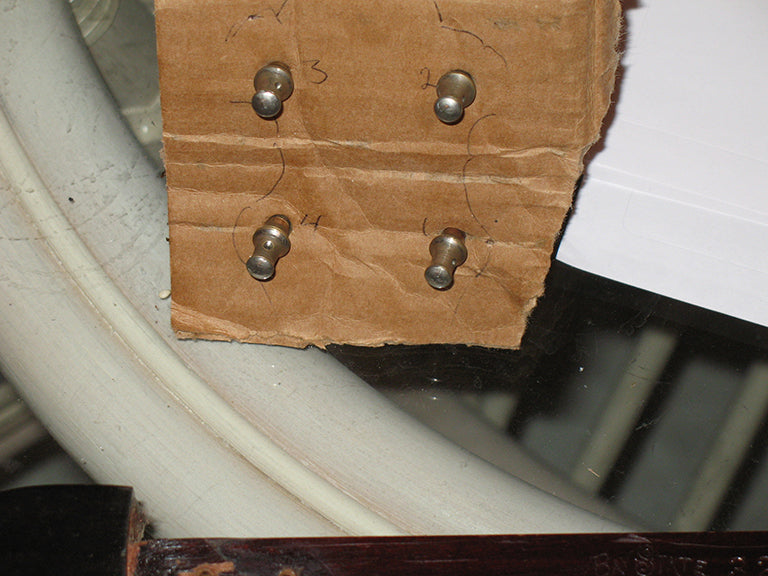
The tuning pegs
|


|
The overlay wood was so dry
|
The front overlay piece
|
The break glued
|
The back view
|
The new rosewood
|


|
The back stripe wood
|
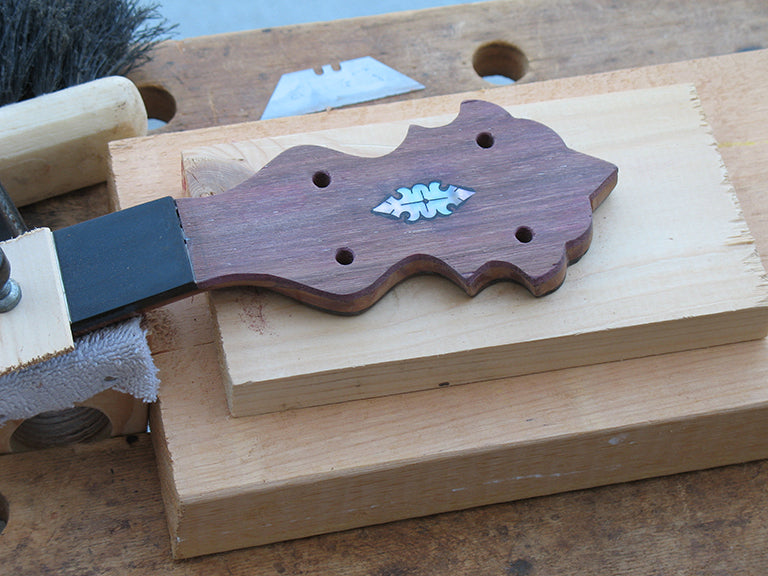
The new rosewood overlay
|
Here you can see where the overlay
|
The pegholes were drilled
|
Next the old inlay
|


|
A hole has been routed
|
Clean hole cut
|
The inlay is so thin that
|
The inlay was
|
And of course
|


|
A little scraping & cleaning
|
The dry and brittle wood
|
Some large pieces were
|
The nut was refit
|
The neck was taped off
|


|
The overlay also
|
The dry fingerboard
|
The pegs being installed
|
Time to put the parts
|
The hardware securing
|


|
The peghead side view of the repair |
The finished peghead with a couple coats of lacquer for beauty and durability |
This Baystate banjo
|
A new set of strings
|

